9 Tips to use you survey’s Thank You Page
The so called ‘Thank You Page’ is the last page of your survey that pops up after you clicked the “Submit” button. It is the place where you definitely should thank your respondents for taking the time to fill out the survey. Let us inspire you with some tips and suggestions on how this page’s full potential can be used in your favour. There are multiple options that can be combined.
In Survio, we always try to think ahead and come up with new ideas and options that would put you a step ahead. Therefore, we’ve decided that finishing a survey with just a simple Thank You Page isn’t enough. A survey that will get spread amongst a whole lot of respondents is a brilliant tool, not only for advertising, with a grand potential that you should be able to take a proper advantage of!
What are those perks you can be using?
- Redirect respondents to your website
- Support sales and increase loyalty
- Reiterate the purpose of this survey again
- Share the results of your research
- Invite the respondent to fill out another survey
- Invite the respondent to attend another event
- Summarize the important information
- Provide your contact information
- Get more responses
Let’s revise the first alternative of an effective use of the Thank You Page.
1. Redirect Respondents to your Website
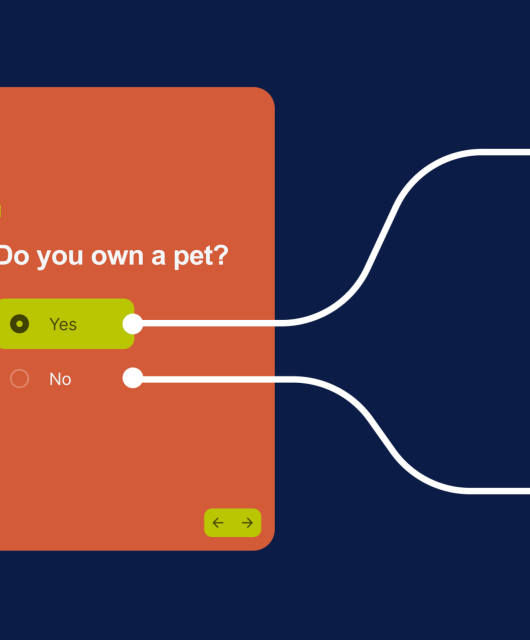
Let’s kick off with the possibly most interesting feature that is very often asked for, even by professionals – the so called Redirect – a link that will immediately bring the respondents to your website. Thanks to this feature, after clicking the “Submit” button, a specific webpage will get displayed for the respondents, for example your e-shop.
And think about the things you can do with that! Why not give them a discount as a reward? Or a present, for example an e-book! The respondents, after having spent some time filling out your survey sure do deserve a reward of some sort. So when they’re done filling out the survey, redirect them to your website where they can collect the reward. Plus, if you’re extra compelling, they might even be leaving your e-shop having bought something there. That way, you’ll be able to get both some valuable data and a great selling opportunity.
Also, no need to limit this to only your website. Your respondents can be redirected e.g. to your social media profiles (Facebook, Twitter etc.).
Nowadays, the trend is to measure and evaluate everything and therefore, we at Survio are doing our best to stay up to date and to enable our users to have full control over their surveys. With Survio, it is possible to use a Google Analytics tracking code directly in the survey and thus measure respondent’s behavior (read more in our article Integrating Google Analytics to Survio – How to get even more information about your respondents).
How to evaluate a survey’s effectiveness which is the mantra of contemporary marketing? It’s very simple. In the case your Analytics code in Survio is switched on, your options will expand as Survio automatically starts tagging your links that will be placed at the end of your survey. UTM parameters will automatically connect to your survey to help you measure the results easily. (See the Analytics article for details). That way, you will be able to measure the entire process of addressing the respondent from the initial invitation, through the completion of the survey to a possible purchase on your website. You can even combine these measurements with Survio’s distribution service or the panel of respondents to keep things even more under control.
You’ve decided to prepare a campaign for your customers to get feedback and their opinions as well as to introduce new products and motivate your customers to buy them. The whole concept is very simple. For instance, you prepare a newsletter in which you inform your customers about the new products and ask them to fill out a short questionnaire. Expand the questionnaire’s link by adding the UTM parameters to it as well as enable Google Analytics tracking in Survio (see our tutorial on How to integrate Google Analytics into Survio). The questionnaire will contain pictures and videos of your product. The customers will then be asked to share their opinions and give ratings. As soon as they’re done filling out the questionnaire, they get automatically redirected to a page where they can purchase the products with an incentivizing discount obtained by filling out the questionnaire. You’ll get feedback, you’ll be able to evaluate efficiency all the way from the newsletter to the potential purchase and, on top of that, you’ll make some money.
How to set up redirects
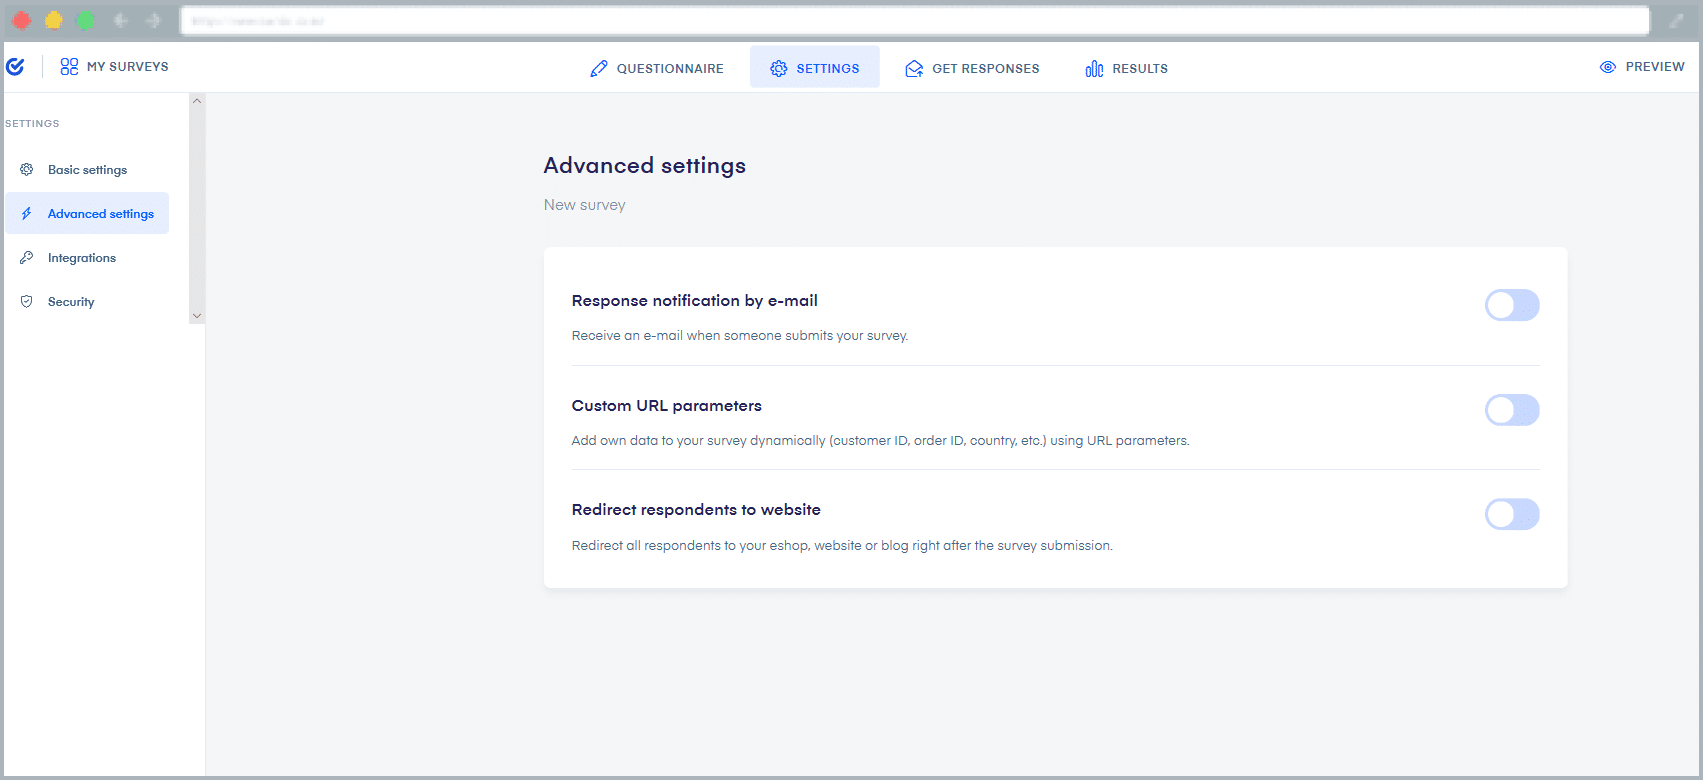
You can set up the content of the final page in Settings by using the Advanced settings button in the left panel. There, you can have your respondents redirected to another page. However, the default setting of the Thank You Page includes Survio advert.
Once you’ve chosen to redirect your respondents to a website, you will be able to enter the address of the page to which you want to send them. Survio will then double-check the site’s functionality for you. The way your Thank You Page looks depends entirely on your skills and imagination. Bear in mind that you can even link your survey to a social network or to any place on the internet.
There is nothing else that needs to be installed. See how simple this is?
2. Support sales and increase loyalty
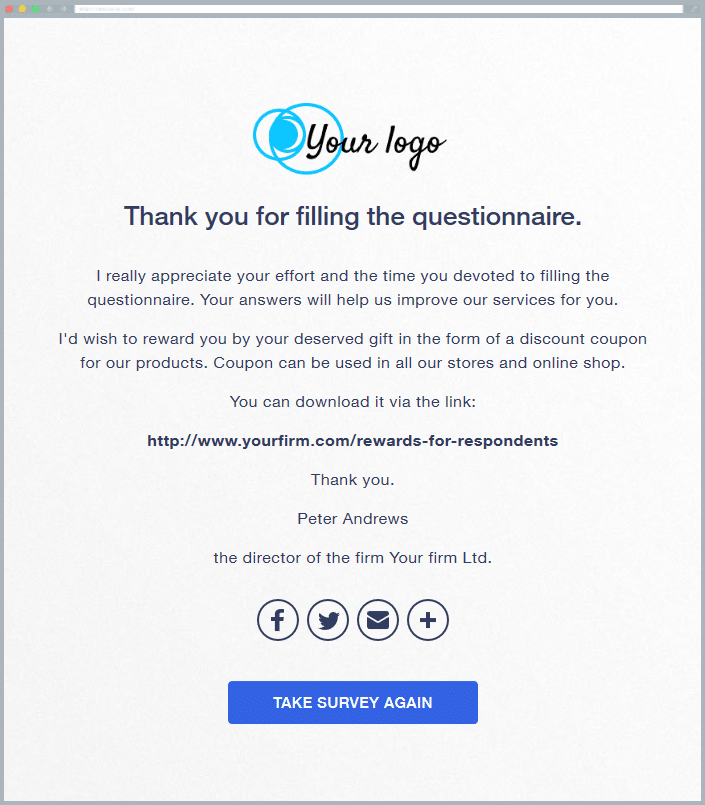
Another clever step is to place a coupon directly on your Thank You Page. After filling out the survey, your respondents can use it in your local store or when using your services. If you have an e-shop, you can even send them directly to a site where the coupon can be used.
Another option is to gather useful content or write an e-book containing valuable tips, advice and instructions and then make it available to your respondents when they complete your survey. This kind of content can be placed in a private section of your website and accessible solely through a link on your survey’s Thank You Page. That way, you reward your respondents and thus motivate them to engage in further activity and to stay loyal to your services.
An example of a Thank You Page:
3. Repeat the purpose of the survey
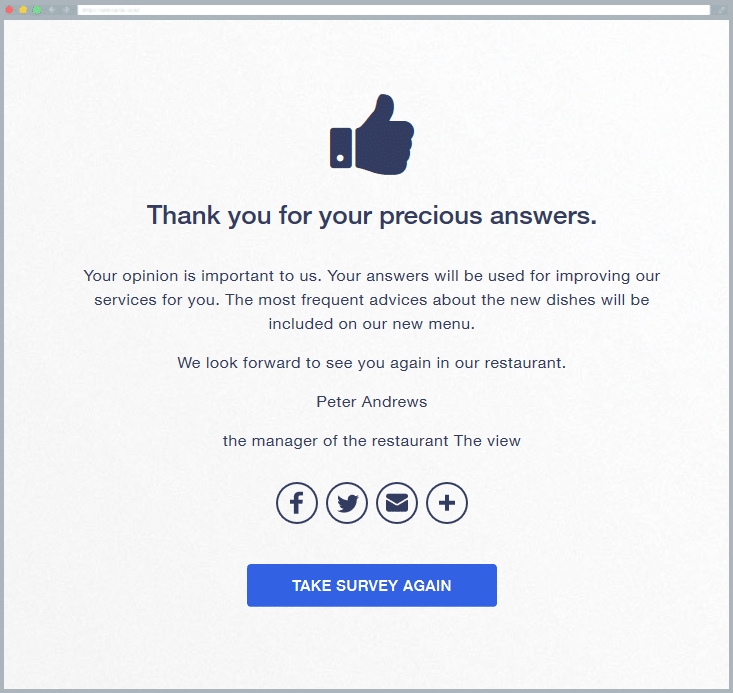
On this page, you can provide the respondent with more detailed information on how to use the data collected by the survey and how they can help you, e.g. to improve your customer service. Emphasize that each respondent’s opinion is important to you.
Example:
4. Publish the results of your survey
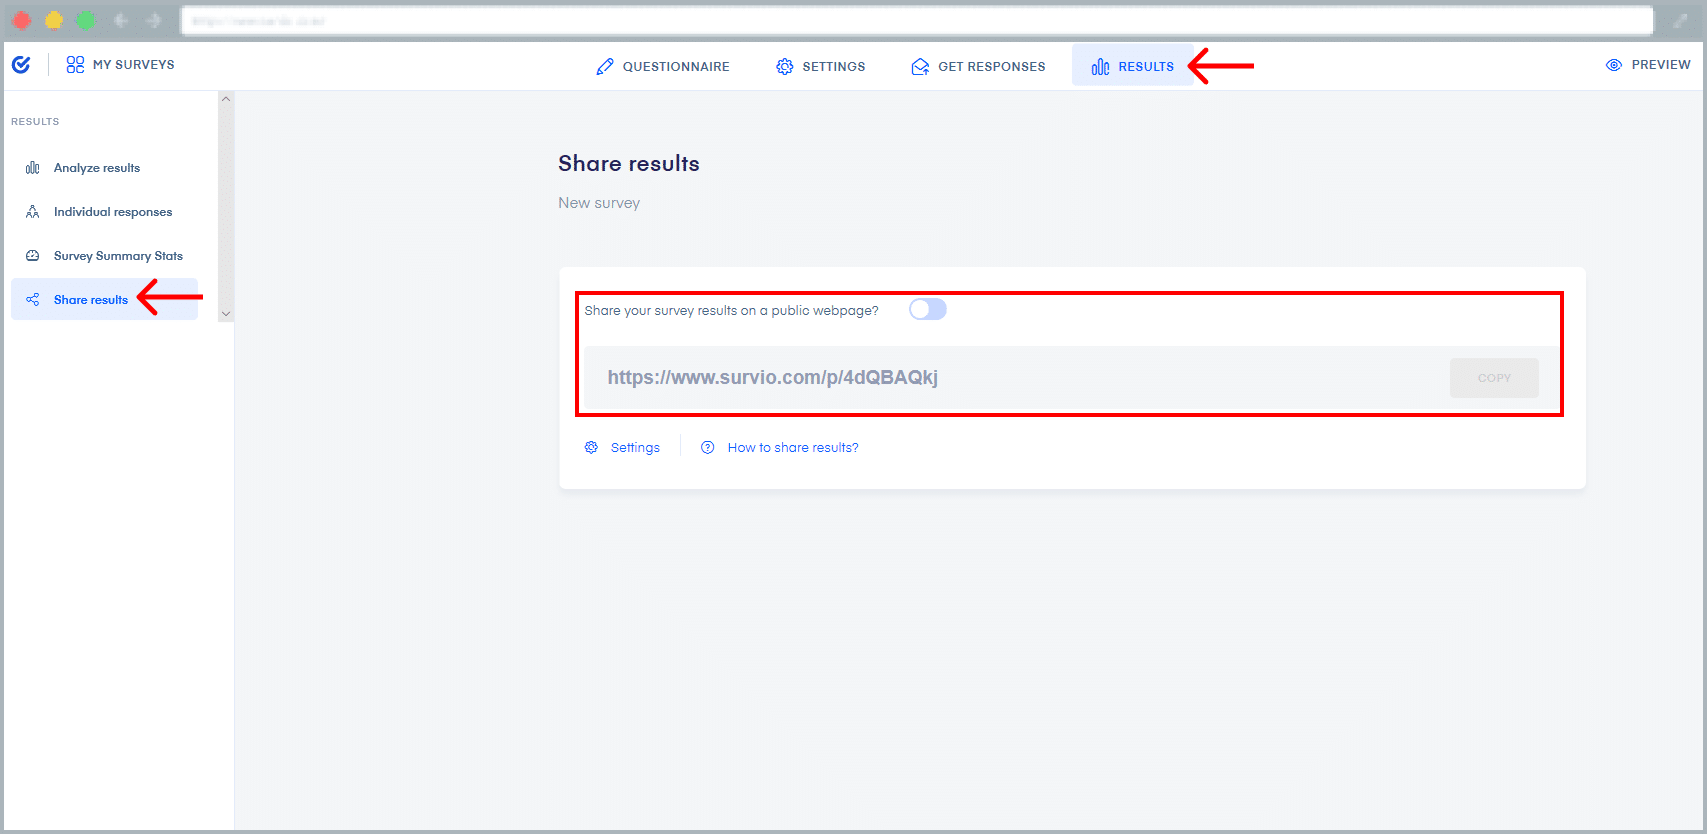
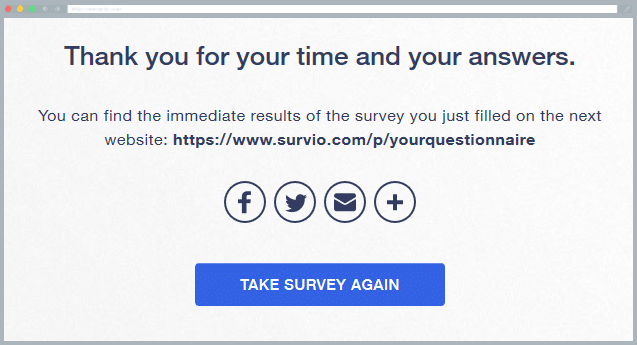
A link leading to an overview of the results can be placed on the page. Respondents will be able to see all the results that you’ve published, including their own responses. Alternatively, you can provide a link to a page where the overall results will be published after the survey has been finished. This page can then include a complex report, generated directly in Survio.
Interesting survey results could motivate the respondents to share it amongst their friends who could possibly care enough to also want to express their opinion on the topic. That way, the completion rate can increase rapidly.
The link is to be found in the “Results” section under “Share Results”. This is where you can choose what will be visible to your respondents.
Example of a Thank You Page including the link to access the immediate results:
5. Invite the respondent to fill in another of your surveys
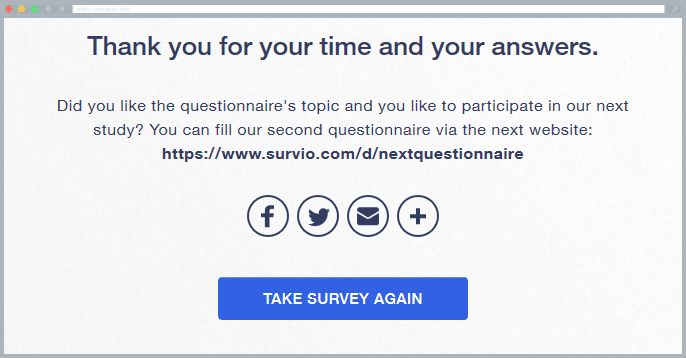
Do you have multiple surveys and would love it if a respondent that has just filled out one of them would continue in filling out other ones too? There’s nothing simpler than placing a link leading to more of your surveys that they can fill out, right on the Thank You Page. You can also use the space to initiate and lead individual dialogues with chosen respondents, or alternatively, redirect the respondent straight to a page with another survey which is done in the same way as described above.
An example of a Thank You Page redirecting to another survey:
6. Invite the respondent to another event
In case your survey was used to gather feedback from a conference, lecture or a similar kind of event, you can be clever about it and use the Thank You Page as an invitation to its follow up or to offer other services from your portfolio. On the page, you can provide a short description of the events and when they’re taking place. On top of it, you can redirect your respondents directly to their registration form where they can book their spot right away.
7. Sum up the important information
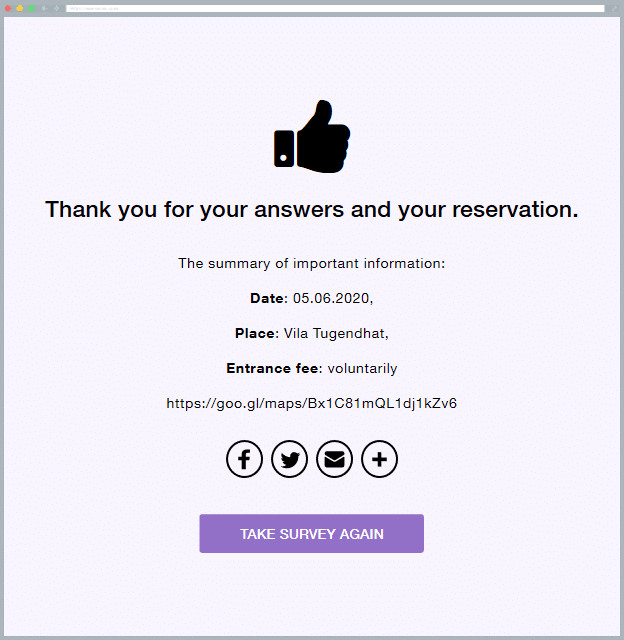
Was your survey used to plan an activity or as a registration form? Are some of the questions regarding e.g. preferred activities, food, etc.? The room under the Thank YOU line is perfectly suitable for summing up the important information, e.g. where certain activities will be going on, when the deadline for signing up to certain activities is, when they might be and how much they may cost etc. You can even upload a picture with a map and directions. Even in this case, you can add a link to the overall results so that all respondents can see which of the offered options is in the lead.
An example of a Thank You Page including additional information
8. Provide your contact information
The Thank You Page is, of course, also perfectly suitable for your contact information, such as e-mail address, phone number, link to your website, social media profiles etc.
9. Get more responses
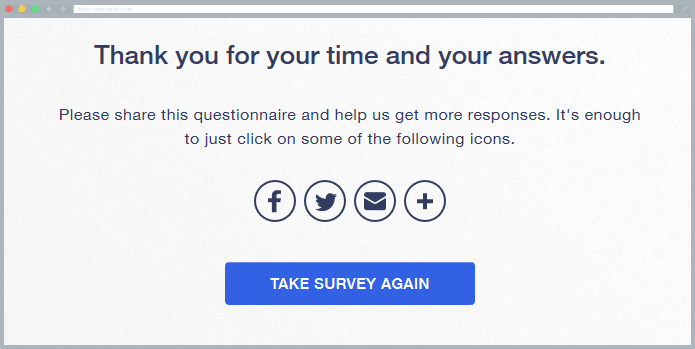
Social media icons are a standard part of the Thank You Page. They will help you get more responses from new respondents. Respondents can share the link on social media and thus reach out to their friends and family who can also fill out the survey. By clicking the icon, the survey gets shared on the respondent’s chosen social media profiles. Your Thank You Page can also include a request for help with getting more responses through subsequent sharing on social media.
An example of a Thank You Page with a social media sharing request:
Even the standard Thank You Page with Survio commercials can offer tricks that come in handy
The Thank You Page normally contains the thank you line as well as commercials for Survio products (see the picture below). That way, your respondents can create their own survey, too. The page also includes various social media icons. By clicking these icons, your respondents can share the link leading to your survey on their social media profiles easily. Moreover, the last icon in the plus shape offers more options for sharing, e.g. creating a customized e-mail message or printing out the link.
Sharing of your survey is truly simple and you can make sure to let your respondents know it right away.
Use the Thank You Page’s full potential properly! As you can see, it offers a whole lot of amazing ways to use it. All of the mentioned methods can be combined freely. Try it out!
In case of any questions, suggestions or comments (not only regarding this article), do not hesitate to contact us via Facebook, Twitter or via e-mail!
Create your own questionnaire or survey for free
Setting up your first survey is quick and straight forward. Choose from one of 100 predefined templates or create your own from the scratch. Start getting your first responses in 5 minutes.
Create your own survey